-
Two Rangers, One Wash Day, Two Outcomes
-
What a Wet Belt Actually Does in the Clutches
-
A Three-Zone Wash Framework for Custom Builds
-
Why High Pressure Ruins Radiator Fins
-
Chemicals That Eat Custom Plastic Panels
-
Wash Order and Clean Cloths, Start to Finish
-
Grease and Engine Heat After the Last Rinse
-
When Your Custom Build Changes the Spray Path
-
If Water Already Reached the Intake
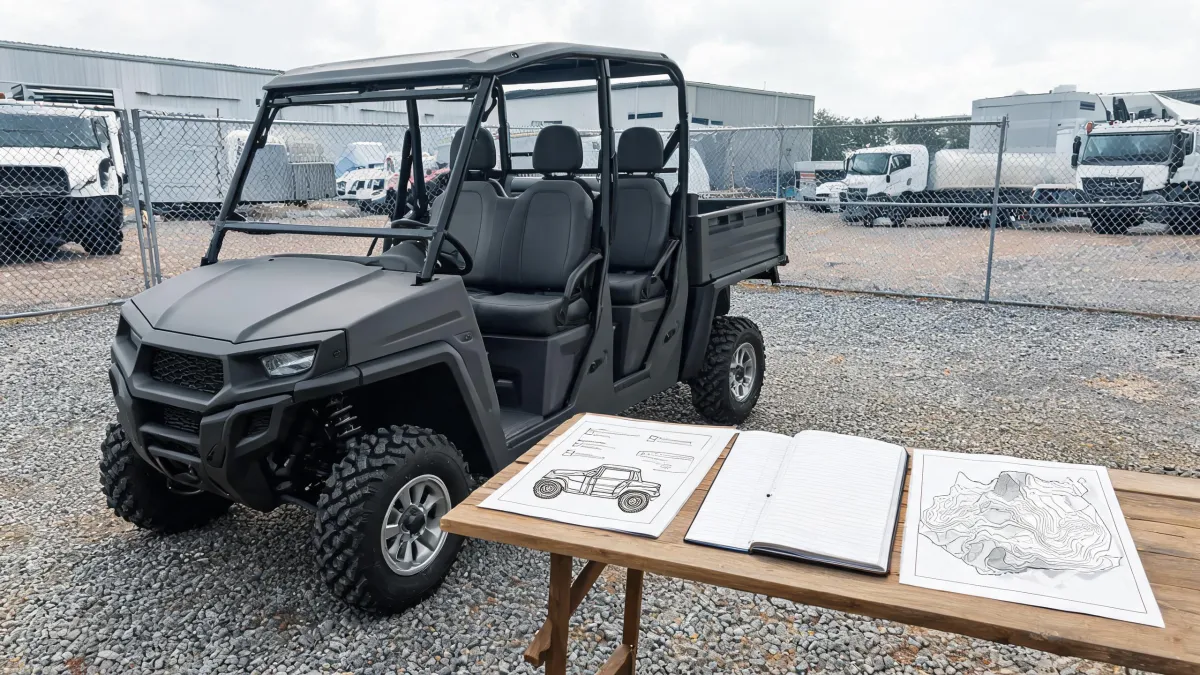
Picture two 2025 Polaris Ranger 1000s at the same hose on the same Saturday, both caked in dried mud. One owner rinses fast, works the nozzle close to the grille, and parks it wet. Next morning the belt slips in the clutches and the machine leaves on a trailer.
The second owner sprays less water and takes longer. Same hose, same soap, same afternoon; the difference is where the water goes. He keeps the stream off the intake pre-filters, works from the top down, greases the fittings and idles the engine until the moisture is gone, then drives it onto the trailer under its own power. Wash this machine around the PVT intake and the radiator fins, not around the paint: a wet belt costs you a recovery, a swirled fender costs you pride. Everything below is written against the 2025 Polaris Ranger 1000 and Ranger Crew 1000 as covered by the factory owner's manual, so confirm your own model year and installed equipment before copying any of it.
Two Rangers, One Wash Day, Two Outcomes
What separated those two trucks was not effort, water volume or soap. It was one decision made before the hose was turned on: which directions the water was allowed to take.
Owner one never aimed at the intake on purpose. He aimed at the grille, because the grille was what looked dirty, and the intake sits behind it. That is how a wash plan fails — rarely by breaking a rule you know about, usually by never having counted it as a rule in the first place.
The common version of this mistake is a mental checklist with one item on it: keep the nozzle out of the intake. That item is correct and it is not enough, because this machine carries other damage limits that a fast rinse can cross without ever aiming at the intake at all.
A dry belt is an operating condition, not a lucky break. It survives a wash only if the plan protects the path the intake air comes in through, and that means settling spray direction before the first drop lands rather than after the machine is parked.
What a Wet Belt Actually Does in the Clutches
A PVT is a belt-driven continuously variable transmission. Torque runs from the engine to the wheels through friction between the belt's edges and the machined faces of the primary and secondary clutch sheaves, and no gear train sits between them. Squeeze the sheaves together and the belt rides higher on those faces; let them apart and it drops lower. The ratio changes because the belt is being squeezed, and the squeeze only transmits force while the surfaces stay in direct contact.
Put a film of water between belt and sheave and you have changed the friction condition at the exact interface the whole system depends on. The manual states the outcome plainly: water in the PVT system could cause the drive belt to become wet and slip in the clutches.
Which means the intake pre-filter is not a cosmetic part that looks scruffy when it is dusty. It is the mouth of the dry-friction path, and belt grip, ratio change and every bit of torque the machine puts down depend on that path staying dry. A slipping belt is not a roughness you drive around; it is a machine that cannot be trusted to pull, and it usually announces itself in the worst place on the trail.
A Three-Zone Wash Framework for Custom Builds
This machine does not have one cleaning rule. It has three, they fail in three different ways, and passing one tells you nothing about the others. Split the vehicle by the constraint that governs each zone.
Zone one is the intake and the PVT air path. The constraint is direction: water pushed toward the pre-filters can reach the system and wet the belt, and the failure shows up as a belt that will not grip. Direction is the only variable you control here, and it matters more than volume.
Zone two is the radiator and its fins. The constraint is pressure. High water pressure may damage radiator fins and impair a radiator's effectiveness, and the same passage warns that high pressure may also damage other vehicle components. The failure shows up as bent fins, a narrowed air path and less heat rejection on a hot day with the engine loaded.
Zone three is the body, the plastics and the painted panels. The constraint is chemical compatibility. The manual names insect repellents and other chemicals as products that will damage plastic surfaces and asks that they never contact the vehicle. The failure shows up as etching and staining that no amount of polishing removes.
Zones work as a sequence, not a checklist. Start where surfaces are chemically sensitive and the dirt is lightest, work down, and pass the heat exchanger with low pressure and a controlled direction on the way. Muddy lower sections come last so their runoff never travels back over something already cleaned. One zone done well cannot vouch for another, because a nozzle that is gentle on paint can fold a fin flat in half a second.
Why High Pressure Ruins Radiator Fins
A radiator works by spreading a large surface area into a small volume. The fins are thin metal folded into a dense array so the air passing through can pick up heat from as much metal as possible, and the airflow only happens because the gaps between them are open.
A high-pressure stream is a concentrated force delivered to that thin array. Fins bend, gaps close, the air path narrows, and the manual's wording tracks the physics exactly: high water pressure may damage radiator fins and impair a radiator's effectiveness.
Because the same passage extends the warning to other vehicle components, low pressure is the default for the whole machine rather than a special rule for the radiator. That is why the manual names a garden hose and a pail of mild soap and water as the best and safest way to clean the vehicle — pressure is a specified condition here, not a judgment call about how confident you feel holding the wand.
If the nozzle has been set the same way since the day it was bought, check it before you start. The goal is rinsing mud off, not cutting it off.
Chemicals That Eat Custom Plastic Panels
Custom builds add plastic everywhere: bumper covers, fender flares, roof panels, bed liners, intake housings. Those parts may carry their own material spec from their supplier, but during a wash they sit in the same water as the factory panels.
What to keep away is spelled out rather than left to judgment: certain products, including insect repellents and chemicals, will damage plastic surfaces, and they are not supposed to contact the vehicle at all. Note which product gets named first — insect repellent, the bottle in the door pocket in July and the overspray that lands on a fender ten minutes later.
The reason mild soap and water is the named method has nothing to do with cleaning power. A mild soap solution is chemically inert toward the plastic surfaces it touches. Repellents and many chemical cleaners are formulated to bond with or dissolve organic material, and a polymer surface is organic material, so the cleaner keeps working after you have wiped it off.
One boundary worth stating plainly: that guidance is the manufacturer's for this named model, and it does not amount to a general verdict that every cleaner damages every plastic. Aftermarket parts are not guaranteed to be the same material as the OEM panels beside them, so check the accessory supplier's own cleaning limits before spraying anything on a part Polaris did not install.
Wash Order and Clean Cloths, Start to Finish
Three changes to the actual wash, each with a result you can see on the machine.
Start at the top of the body and finish at the bottom. The manual's instruction is to use a professional-type washing cloth and to clean the upper body first and the lower parts last. That order is not etiquette: muddy water running off the rockers and wheel wells carries grit back over panels you already wiped. Work top-down, and no drama about it.
Use clean cloths and pads every time. Always use clean cloths and pads for cleaning and polishing, because old or reused cloths and pads may contain dirt particles that will scratch the finish. Swap to a fresh cloth the moment it starts feeling gritty — a cloth loaded with grit is a mild abrasive pad, and the marks it leaves do not come out afterward.
Keep the medium fixed: garden hose, pail, mild soap and water. That single choice satisfies the pressure limit at the radiator and the chemical limit at the plastics at the same time, which is why the manual calls it the best and safest method rather than one option among several.
Because these three changes target three different failures — runoff dragging grit back uphill, embedded particles scratching paint, and a medium that exceeds what the components tolerate — none of them substitutes for another. A perfect wash order with the wrong nozzle still folds fins. A pressure washer with fresh cloths still pushes water where it should not go.
Grease and Engine Heat After the Last Rinse
The wash is not finished when the water stops. Grease all zerk fittings immediately after washing, if the machine has them. Water has just been driven into every joint and pivot, and grease displaces it while the fittings are still reachable and the machine is still on the pad.
Then allow the engine to run for a while to evaporate any water that may have entered the engine or exhaust system. Heat is the cheapest drying method available, and it works from the inside, where no towel reaches.
It comes down to timing. Both actions are defined as immediately-after-wash steps, not items for the next service visit; wait a week and the water has had seven days to sit in the places grease was supposed to protect. Whether your particular build has zerk fittings at all, and where they sit, depends on your configuration, so check the machine and the accessory documentation instead of assuming the stock layout carries over.
When Your Custom Build Changes the Spray Path
Adding parts changes geometry, and geometry is what a spray rule actually operates on. Suppose a build carries a front bumper, a skid plate, a lift kit and an intake routed up the A-pillar. The pre-filter is no longer where the stock machine put it, and a stream that used to hit sheet metal may now point at the intake mouth from an angle nobody planned.
The rule itself does not move: always avoid spraying water directly toward any intake pre-filters. What changes is where you stand and which directions you refuse to use. Wind belongs in the same calculation — a crosswind across a driveway turns a safe side-spray into mist that drifts into an opening you never aimed at.
Three things to settle before the first wash on a new build. Does any accessory change the orientation or the height of the intake opening? Has the accessory supplier published cleaning restrictions for its coated, painted or plated parts? And do you hold the owner's manual matching your exact model year and configuration, given that the guidance quoted here covers the 2025 Ranger 1000 and Ranger Crew 1000 only? Those answers set the spray path; the physics underneath does not change.
If Water Already Reached the Intake
You can do everything right and still get caught — a puddle at the ramp, a helper with a pressure washer, a splash that went where nobody intended.
The manual's next step is short and conditional: if water does enter the PVT intake, follow the procedure in the PVT Drying section. That section lives in the copy of the manual that matches your machine, and its steps should not be reconstructed from memory or from a forum thread. Get the document first, then act.
Here is the practical judgment. Confirm you hold the manual for your model year and configuration, open the drying procedure, and only then decide whether you handle it yourself or hand the machine to a dealer. Running it normally in the hope that the belt dries itself out is a decision made with no information behind it.
Which brings the two Rangers at the hose back into view. Same water, same soap, same Saturday, and the only things that separated them were where the water was pointed and what happened after the last rinse. Neither truck was undone by the water or the soap. One was undone by the order of work.
